
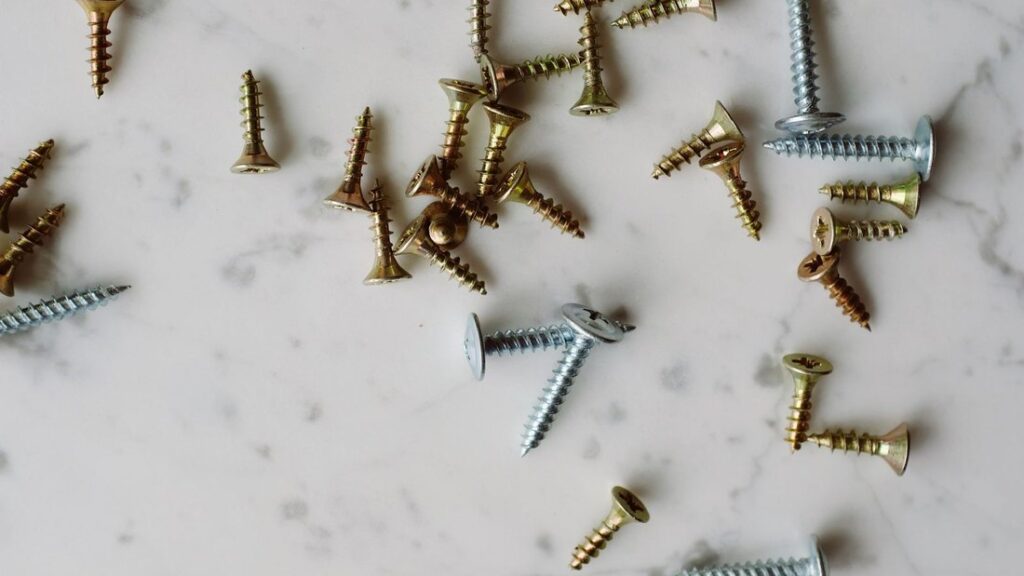
Polycarbonate sheets rarely fail in the middle of a panel. They crack at the fixing — a star crack radiating from a screw, a short split running in from an edge hole, or a notch that opens up along a purlin line within a season of installation. In almost every case the sheet was sound and the fixing detail was not: the hole was drilled to the fastener size, the panel was clamped rigid, or the frame spacing was copied from a glass job. This guide explains why polycarbonate cracks at fixings, how much movement the sheet actually generates, and the four details that prevent it.
Why Polycarbonate Sheets Crack at a Hole
Polycarbonate is tough but notch-sensitive: it absorbs impact by deforming, and a sharp edge concentrates stress instead. A drilled hole has a sharp edge by definition, and a fastener sitting tight against it converts every movement of the sheet into a point load at that edge. Add the two movements a roof actually sees — thermal expansion along the panel and deflection under wind or snow — and the crack initiates at the hole and runs in the direction of least resistance.
The material is not the problem. A correctly detailed polycarbonate roof moves constantly and does not crack; an incorrectly detailed one cracks on the first hot day, which is why the symptom is so often reported as “the sheet failed in summer”.
How Much Movement Is Actually There
| Panel length | Movement over 40 K | End clearance to leave |
|---|---|---|
| 2 m | 5.4 mm | 6 mm |
| 4 m | 11 mm | 12 mm |
| 6 m | 16 mm | 18 mm |
| Fixing hole | 3–4 mm larger than shank | 5 mm screw in an 8–9 mm hole |
| Frame spacing | Per thickness and load | Closer than the glass layout |
Polycarbonate expands about 6.8 × 10⁻⁵ per °C. Over a 40 K swing — an unventilated dark roof in a hot climate will see more — a 4 m panel moves roughly 11 mm. That is the number the fixing detail has to absorb, and it is roughly seven times what the same panel would do in glass. Two consequences:
- Hole diameter — the hole must be 3–4 mm larger than the screw shank, so the sheet can move in every direction. A 5 mm screw takes an 8–9 mm hole, not a 5 mm one.
- Edge clearance — leave about 3 mm per metre of panel length free at each end, and never butt a panel hard into a rebate or against a wall.
Neither of these is a suggestion. A hole drilled to shank size and a panel fitted tight are the two most common causes of cracked sheets in service, and both are invisible once the capping is on.

The Four Details That Prevent It
- Oversized holes, drilled square — drill with a sharp bit at moderate speed and deburr both faces. A ragged hole edge is a crack starter even when the diameter is right.
- Profiled washers and gaskets — an EPDM-backed sealing washer spreads the load and allows movement. A bare steel washer clamped on the sheet concentrates stress and cold-flows the material.
- No rigid clamping — the sheet must be held, not pinched. Where a capping bar is used, it sits on a gasket and the fastener compresses the gasket, not the polycarbonate.
- Frame spacing to suit the sheet — polycarbonate is roughly 30 times less stiff than glass, so the purlin spacing that works for 6 mm glass overloads 6 mm polycarbonate. Span tables are per thickness and per load; copying a glass layout is a design error, not a shortcut.
Edge and Notch Problems
Two more failure sites are worth calling out because they are made on site, not in the design office. A panel cut with a dull blade or a jigsaw at full speed leaves micro-notches along the cut; under thermal cycling those notches propagate. Cut with a fine-tooth blade at low speed, and where precision matters use a router or a laser-cut template rather than a hand cut.
The second is the notch around a penetration — a pipe, a cable, a fixing for a light fitting. Any square internal corner in a sheet is a stress raiser; drill the corners of a rectangular opening with a round bit before cutting the straight lines, and keep penetrations away from a fixing line.
Installation Sequence That Avoids the Problem
Fix the frame and check its plane before a sheet goes on: a purlin that is 5 mm out of line will pre-load the panels and start the process before anyone touches a screwdriver. Lay panels with the UV-protected face upward — on co-extruded sheet only one face is protected, and a panel laid upside down degrades from the wrong side. Work from one end, keep the protective film on until the row is complete in hot weather, and remove it within the stated window rather than leaving it to bake.
Use the specified number of fixings at the specified spacing, and resist the temptation to add extra screws to “make it secure”. Each additional fixing removes movement capacity; an over-fixed panel is more likely to crack, not less.
Multiwall Sheet: Two Extra Rules
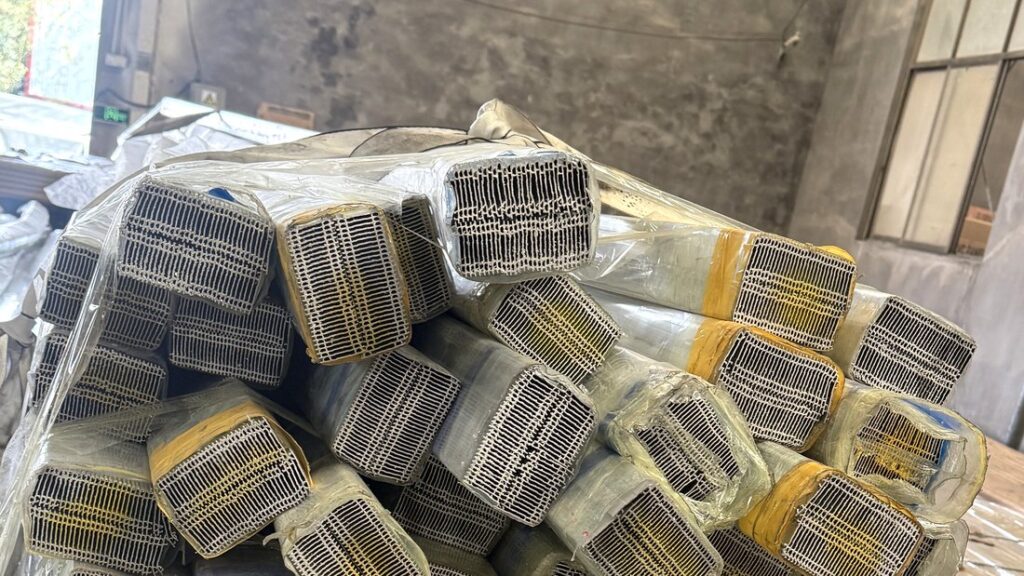
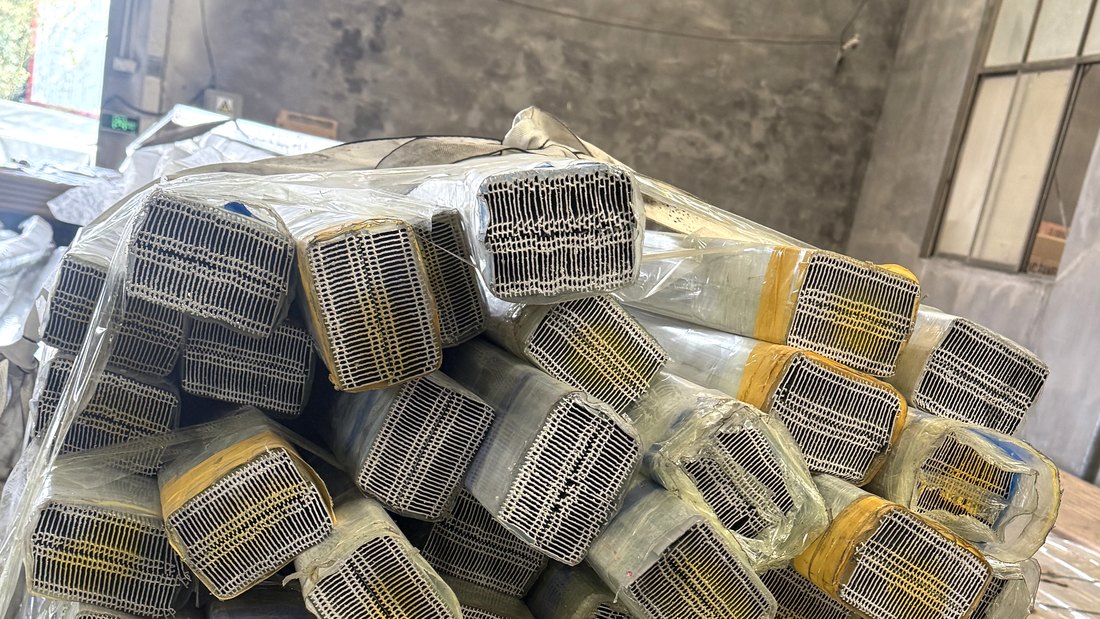
Hollow sheet adds two failure modes of its own. The open flute ends must be closed: breather tape on the lower edge to let moisture out, sealing tape on the upper edge and on the ends of a run, so the flutes do not become a condensation trap or a home for insects. And the sheet must never be walked on or used as a working platform — the skins take load in bending only and a point load crushes the structure permanently.
Where the run is long, use the profile’s own expansion joint rather than forcing a continuous panel; multiwall profiles have a defined maximum length for a reason.
If a Sheet Has Already Cracked
Diagnose before replacing. A crack radiating from a fixing hole is a hole-size or clamping fault; a split running in from an edge is an edge-clearance fault; crazing across the surface is a chemical or UV fault, not a mechanical one. Replacing the sheet without correcting the detail reproduces the failure — and on a roof, the second replacement usually costs more than the repair did.
Small cracks can be stopped by drilling a 3 mm hole at the crack tip, which redistributes the stress. That is a temporary measure to get a building through a season, not a repair; the panel and its fixing detail are still wrong.
Frequently Asked Questions
Why did my polycarbonate sheet crack around the screws?
Almost always a fixing detail fault: the hole was drilled to the screw size instead of 3–4 mm larger, the sheet was clamped rigid so it could not move, or the frame spacing was designed for glass. Polycarbonate moves about 11 mm over 4 m across a 40 K swing, and a tight fixing converts that into a crack at the hole.
How much bigger should the hole be than the screw?
3–4 mm larger than the shank diameter: a 5 mm screw needs an 8–9 mm hole. Drill square, at moderate speed, and deburr both faces — a ragged hole starts a crack even at the correct diameter.
Can I use the same frame spacing as glass?
No. Polycarbonate is roughly 30 times less stiff than glass, so the purlin spacing has to be closer for the same thickness and load. Use the manufacturer’s span table for the specific thickness and profile, and check deflection rather than only strength.
What causes a crack that starts at the edge rather than at a hole?
Edge clearance. Panels butted hard into a rebate, a wall or a capping have nowhere to expand, so the stress concentrates at the edge. Leave about 3 mm per metre of length free at each end and cover the gap with a profile, not a seal.
Should I add more screws to make the roof more secure?
No. Every fixing removes movement capacity. Fit the specified number at the specified spacing with profiled washers; an over-fixed panel cracks sooner, not later.
Getting the Fixing Detail Right the First Time
Three things decide whether a polycarbonate roof survives: the hole size, the washer and clamping detail, and the frame spacing against the sheet thickness. All three are settled on the drawing and in the first row of panels, and all three are cheap to get right and expensive to correct once the roof is complete.
If you are specifying polycarbonate sheet for a canopy, skylight or roof and want the fixing detail that goes with it, send four details — the application, the sheet size and thickness, the quantity, and the destination port. We come back with the span and fixing recommendation for that sheet, the accessory list, and comparable project references. Where the frame needs changing to suit the sheet, we say so before the order rather than after the first crack.
Two related references are worth reading before finalising the detail: the installation accessories reference, which covers the aluminium profiles, gaskets and fasteners used with polycarbonate, and the solid polycarbonate selection guide, which covers thickness and UV grades for the same job.
Need the fixing detail for a polycarbonate roof? Request a span and accessory recommendation.
Tell us the application, sheet size and thickness, quantity and destination port. We reply with the span table, fixing detail and accessory list for that sheet, plus comparable references — not just a price.