Introduction
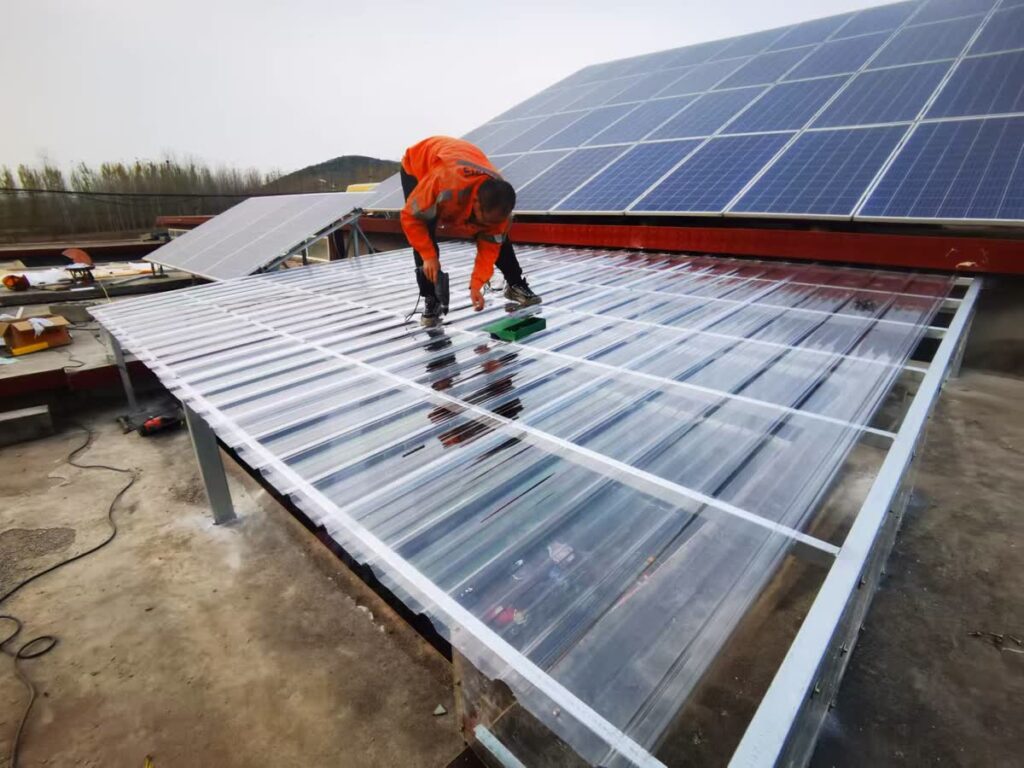
Installing polycarbonate roofing sheets correctly is essential to maximize their service life, ensure waterproof performance, and maintain an attractive appearance. Many common problems — such as water leakage, panel cracking, premature yellowing, and wind damage — stem directly from improper installation techniques rather than product quality. Whether you are building a carport, greenhouse, factory roof, or skylight, following the correct installation procedure will protect your investment and ensure your PC roofing performs reliably for 10–15 years or more.
This comprehensive guide covers everything you need to know: from choosing the right tools and materials to the step-by-step installation process, common mistakes to avoid, and ongoing maintenance tips. The instructions are specially adapted for the tropical climate of Southeast Asia, where high temperatures, heavy rainfall, and strong UV exposure place additional demands on roofing materials.
Tools and Materials You’ll Need
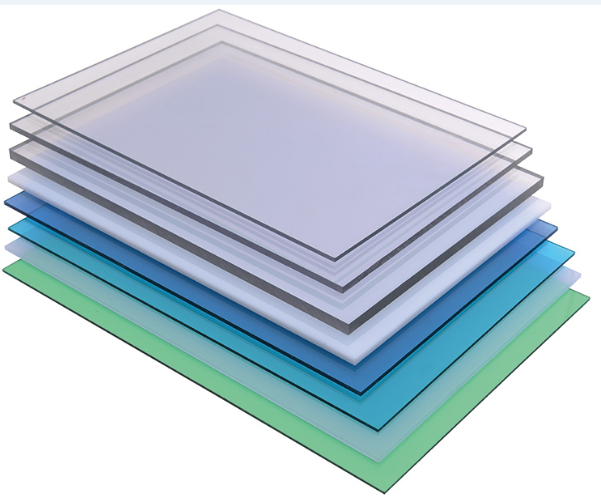
Before you begin installation, gather all the necessary tools and materials. Having everything ready beforehand will save time and prevent installation errors.
Essential tools:
- Electric drill with sharp drill bits (high-speed steel or carbide-tipped)
- Circular saw or jigsaw with fine-tooth blade for cutting PC sheets
- Measuring tape, chalk line, and level for layout marking
- Utility knife for trimming and removing protective film
- Rubber mallet for gentle tapping without damaging the sheet
- Safety equipment: gloves, safety glasses, and non-slip shoes
Required materials:
- Polycarbonate roofing sheets (multiwall, solid, or corrugated as per your project)
- Stainless steel self-tapping screws with EPDM rubber sealing washers
- Aluminum alloy or UPVC fixing profiles and rubber sealing strips
- Neutral silicone sealant (non-acidic, non-alkaline)
- Expansion joint filler or foam backer rod for end closures
- Aluminum tape or U-profile edge trim for finishing open ends
Using high-quality, corrosion-resistant materials is especially important in Southeast Asian coastal areas where salt air can accelerate metal corrosion.
Step-by-Step Installation Process
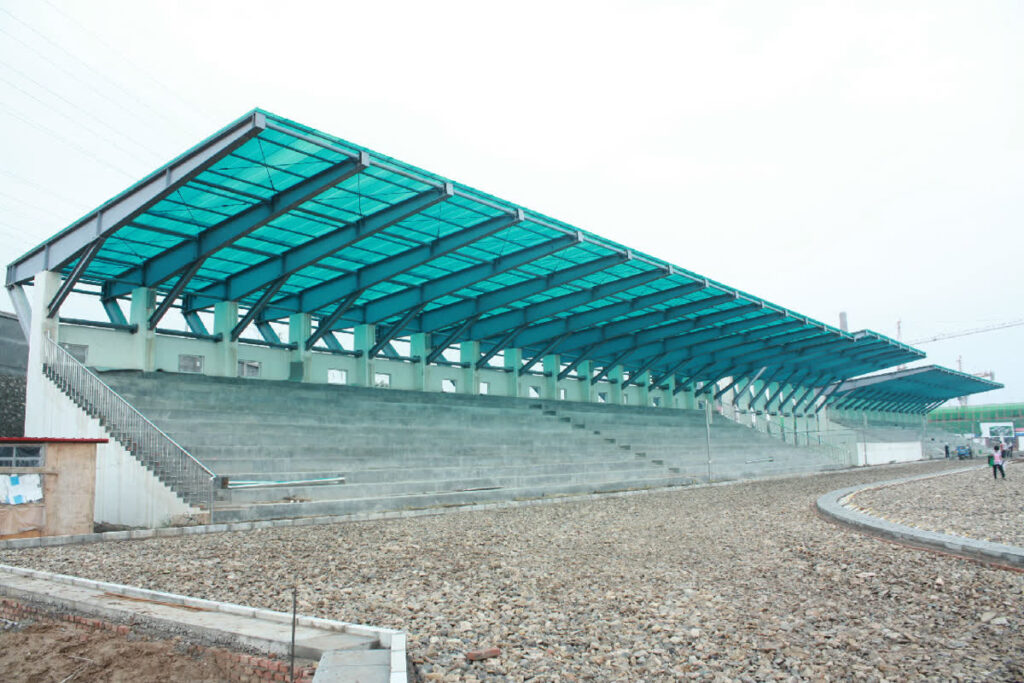
Follow these eight essential steps for a professional polycarbonate roofing installation that will remain watertight and structurally sound for years.
Step 1: Confirm the UV-Protected Side
Every polycarbonate sheet comes with a protective film marked “UV OUT” or “This Side Out”. This UV-coated side must face outward (toward the sun). Installing the sheet upside down will result in rapid yellowing, surface degradation, and loss of impact strength within 1–2 years. The UV layer co-extruded during manufacturing provides 5–10 years of protection against sunlight, but only when facing the correct direction.
Step 2: Reserve Expansion Gaps
Polycarbonate has a high coefficient of thermal expansion — approximately 0.065 mm per meter per degree Celsius. In Southeast Asia, where roof surface temperatures can range from 10°C at night to 80°C in direct summer sun, a 6-meter sheet can expand or contract by up to 27 mm. Always leave an expansion gap of 2–3 mm per meter of sheet length, and 5–8 mm at the ends. Without these gaps, sheets will buckle, warp, or crack when temperatures rise.
Step 3: Drill Holes Correctly
Drill holes must be 20–30% larger in diameter than the screw diameter to accommodate sheet movement. Use a sharp drill bit at low RPM to avoid chipping or melting the polycarbonate. Always support the sheet from below during drilling to prevent flexing and cracking. Drill through solid sections only — never through the flutes or hollow channels of multiwall sheets, as this can cause stress concentration and splitting.
Step 4: Use Special Screws with Waterproof Gaskets
Standard wood or metal screws are not suitable for polycarbonate roofing. Use stainless steel self-tapping screws with UV-resistant EPDM rubber sealing washers. These washers expand and contract with the sheet and prevent water from penetrating around the screw hole. Do not overtighten the screws — tighten just enough to compress the gasket slightly. Over-tightening creates stress points that lead to cracking around the screw holes.
Step 5: Fix with Profiles, Not Direct Fastening
For permanent installations, use dedicated aluminum alloy or UPVC clamping profiles with matching rubber sealing strips. These profiles distribute the clamping force evenly along the sheet edge, allow for thermal movement, and provide a clean, professional finish. Never fasten sheets directly with angle steel, wood battens, or ordinary metal strips — these methods cause point loading and almost always lead to failure within 2–3 years.
Step 6: Seal the Edges Properly
Use neutral cure silicone sealant for edge sealing and around penetrations. Avoid acidic, alkaline, or solvent-based sealants, which can chemically attack the polycarbonate surface and cause stress cracking over time. For multiwall sheets, use U-profile edge trim or aluminum tape to seal the open ends — this prevents insects, dust, and moisture from entering the flutes, which can lead to algae growth and reduced light transmission.
Step 7: Keep Protective Film On During Installation
The protective film on both sides of the sheet guards against scratches and dirt during handling and installation. Remove it within 30 days of installation completion. Leaving the film on too long, especially under direct sunlight, causes the adhesive to bake onto the surface, making removal extremely difficult and leaving unsightly glue residue.
Step 8: Never Step Directly on the Sheet
Walking directly on polycarbonate sheets during or after installation can cause cracking, micro-fractures, and permanent deformation. Always use walk boards or plywood sheets to distribute your weight across the purlins. This precaution is especially critical for multiwall sheets, which are less rigid than solid sheets. Consider installing safety lines or a temporary walkway for large-scale projects.
Common Installation Mistakes to Avoid
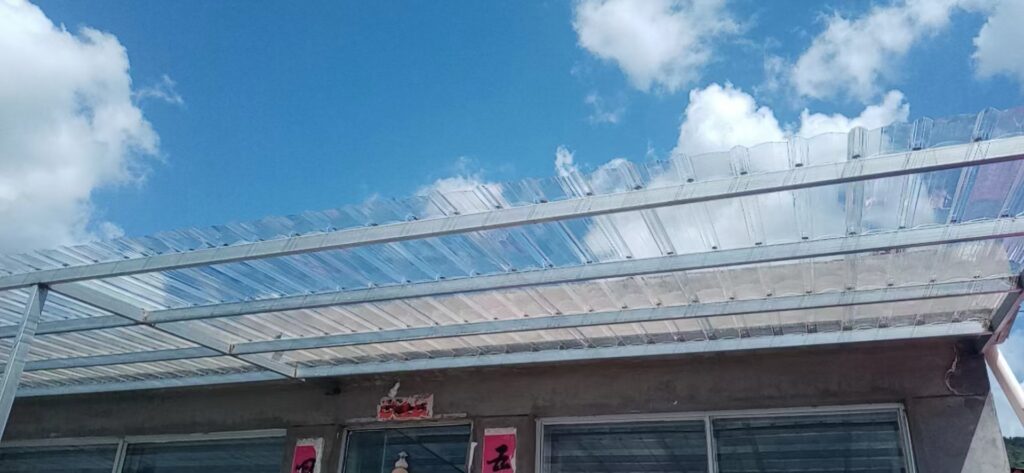
Even experienced builders can make mistakes. Here are the most common errors observed in polycarbonate roofing installations and how to avoid them:
- No expansion gaps: The most frequent and most damaging mistake. Sheets expand and contract significantly with temperature changes. Without proper gaps, the roofing will buckle and crack within the first hot season.
- Wrong screw type or overtightening: Using ordinary self-tapping screws without EPDM washers, or tightening screws too much, creates stress concentrations and water entry points.
- Incorrect UV orientation: Installing sheets upside down destroys UV protection and leads to premature yellowing and brittleness within 1–2 years.
- Using incompatible sealants: Acidic or solvent-based sealants chemically attack polycarbonate, causing stress cracking and loss of structural integrity.
- Inadequate purlin support: Support spacing that is too wide for the sheet thickness leads to sagging, ponding, and eventual collapse under heavy rain or snow loads.
- No edge sealing on multiwall sheets: Open flute ends allow moisture, dust, and insects to enter, reducing light transmission and creating an unsightly appearance.
If you are unsure about any aspect of the installation, consult a professional roofing contractor or contact the PC sheet manufacturer for detailed specifications and support.
Maintenance Tips for Long-Lasting Performance
With proper installation and minimal ongoing maintenance, polycarbonate roofing can last 10–15 years or more while maintaining its appearance and performance. Follow these simple maintenance guidelines:
- Clean annually: Wash the sheets with mild soap and water using a soft cloth or sponge. Avoid abrasive cleaners, scrub brushes, or pressure washers that can scratch the UV coating.
- Inspect after severe weather: After heavy storms or high winds, check for loose screws, damaged gaskets, or shifted sheets. Tighten any loose fasteners gently.
- Check seals and gaskets: Inspect EPDM sealing washers and rubber sealing strips annually. Replace any that have become brittle, cracked, or compressed beyond their service life.
- Keep gutters and drainage clear: Ensure roof drainage systems are free of debris to prevent water ponding on the sheet surface.
- Remove protective film promptly: As noted above, remove the protective film within 30 days of installation to prevent adhesive residue.
Conclusion — Why Choose Jietai PC Sheets
Correct installation is the most important factor determining the lifespan and performance of your polycarbonate roofing. By following these eight installation steps, avoiding common mistakes, and performing regular maintenance, you can expect 10–15 years of reliable service from your PC roofing — waterproof, wind-resistant, and free from deformation or cracking.
Jietai Industrial Co., Ltd. has been manufacturing high-quality polycarbonate sheets since 2012. Our products are made from imported virgin raw materials with co-extruded UV protection, ensuring long-lasting performance in even the harshest tropical climates. We offer a complete range of polycarbonate roofing solutions including multiwall sheets, solid sheets, and corrugated sheets in multiple thicknesses, colors, and custom sizes.