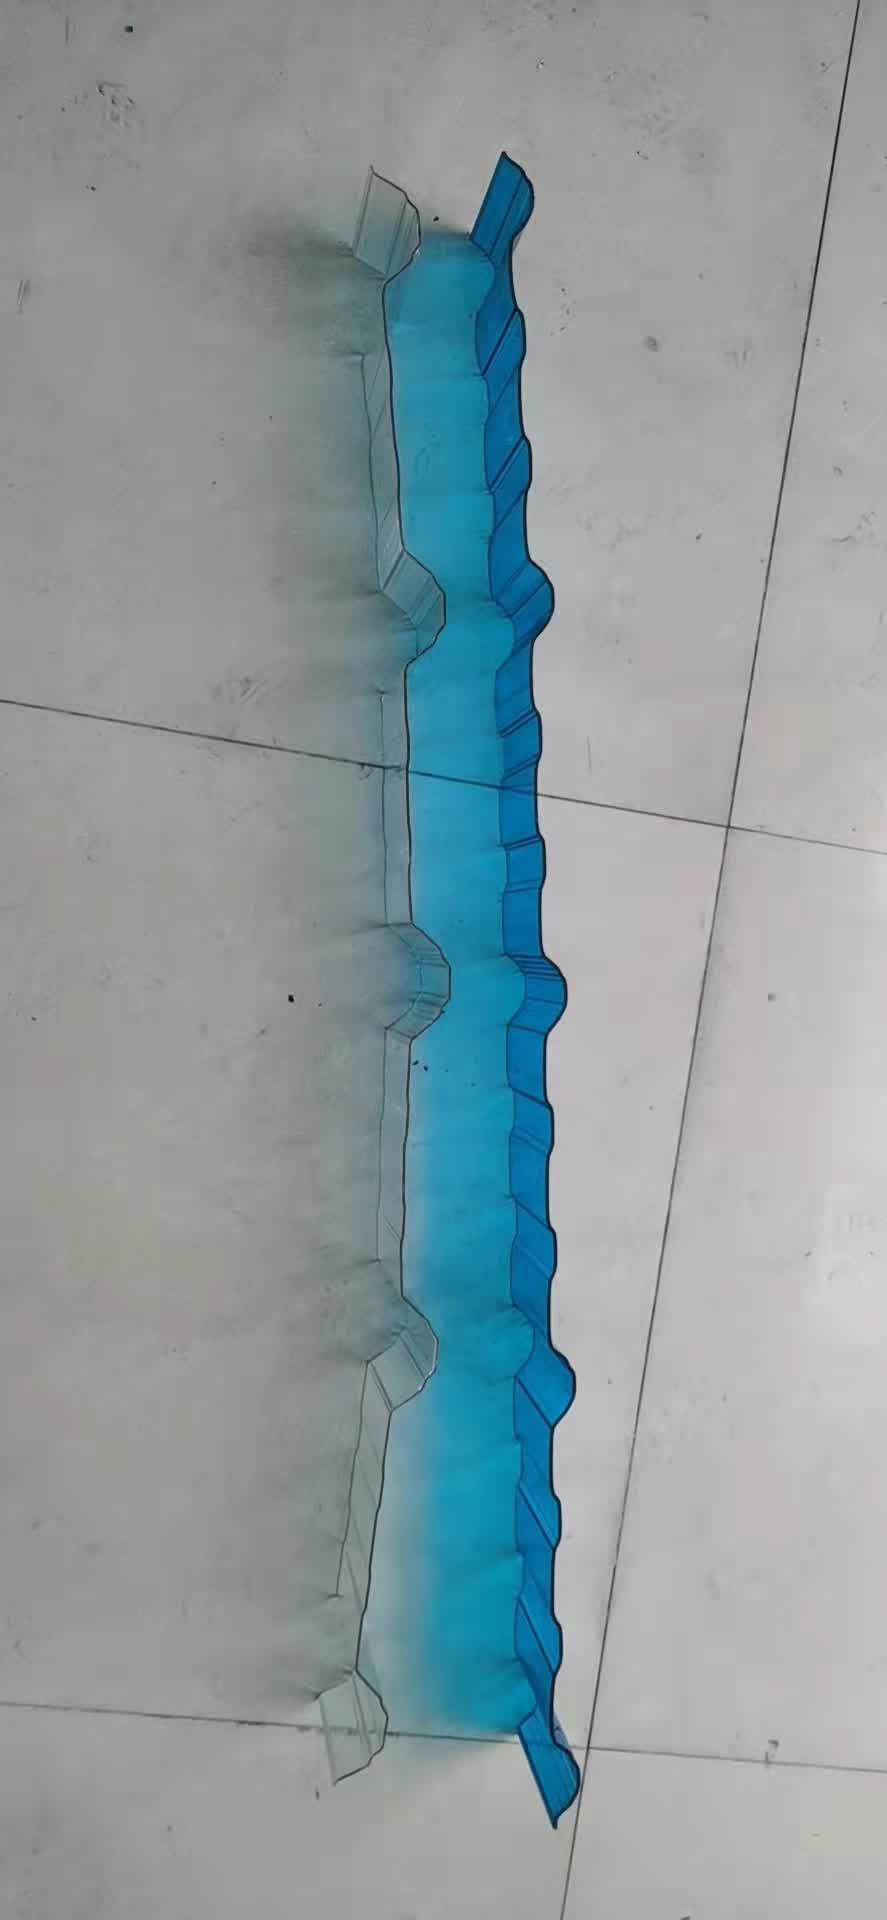
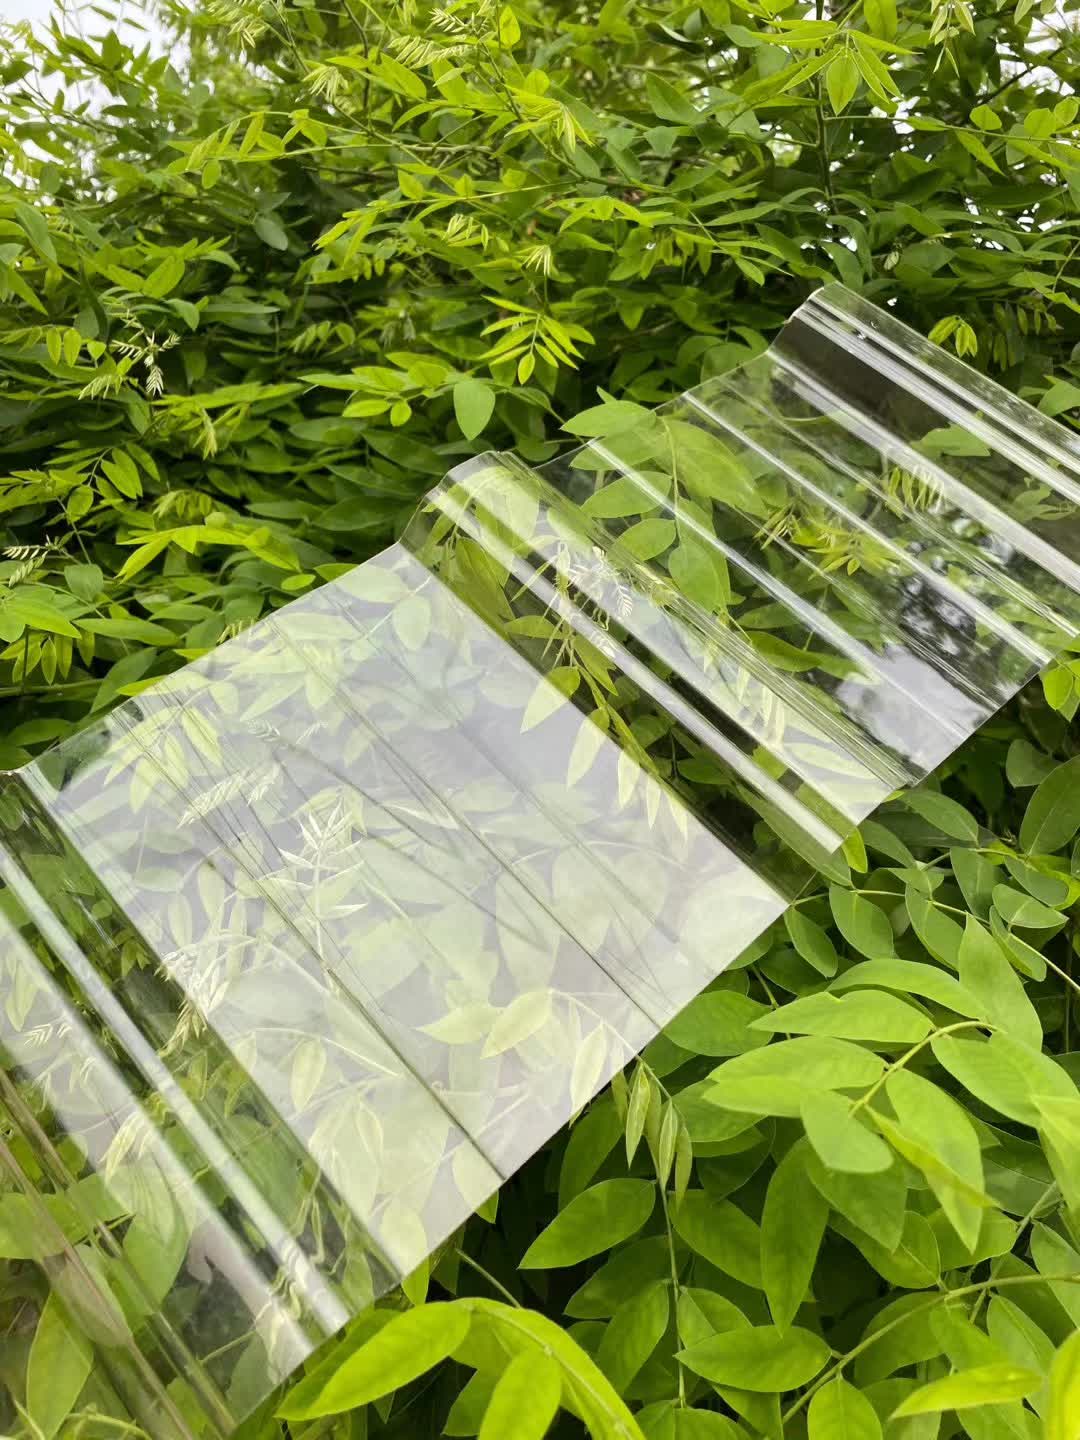
Corrugated polycarbonate sheets are one of the most versatile daylighting solutions for industrial, agricultural, and residential roofing projects. Their wave profile matches standard metal roofing profiles, making them a direct drop-in replacement for translucent daylight panels. However, proper installation is critical — even the highest-quality polycarbonate sheet will underperform if fastening, overlap, or support spacing is incorrect. This guide covers everything from purlin spacing to fastener selection for a leak-free, long-lasting corrugated roof.
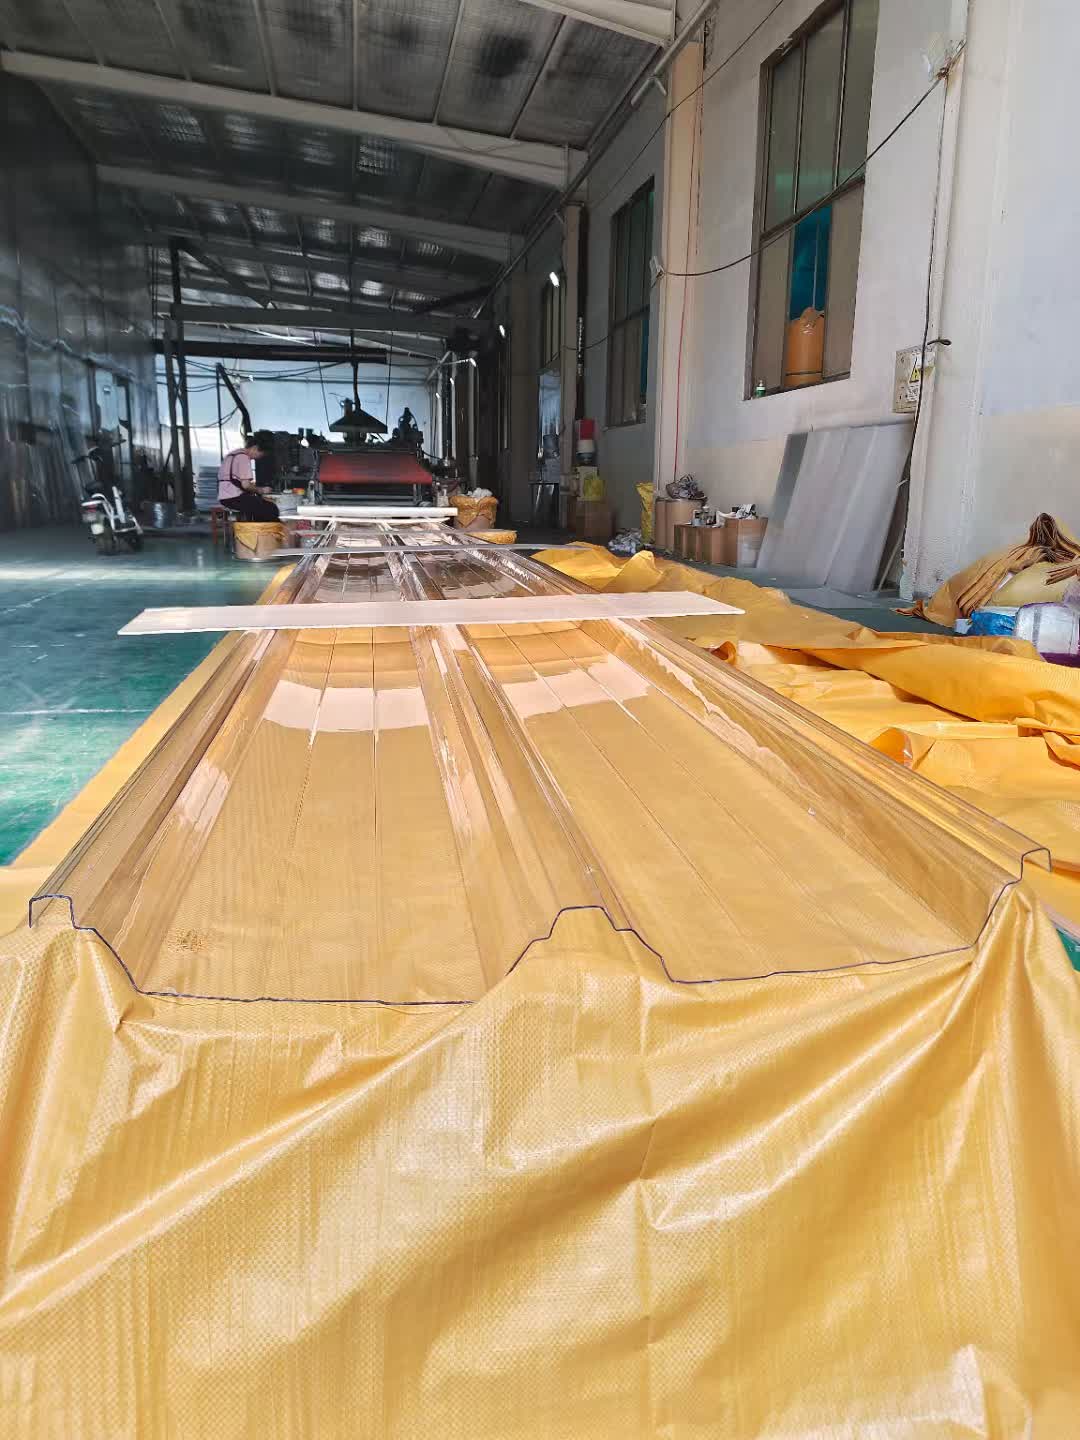
1. Pre-Installation Preparation
Before installing corrugated polycarbonate sheets, verify the following:
- Check wave profile compatibility: Corrugated PC sheets come in standard profiles — PC760, PC820, PC840, PC900, PC930, PC950, PC970, and PC1050 — designed to match corresponding metal sheet profiles. Confirm your purlins and flashing are sized correctly for the chosen wave type.
- UV-protected side faces outward: All quality corrugated polycarbonate sheets feature a co-extruded UV protective layer on one side. The UV-protected side (usually marked with a removable film or printed label) must face the sun. Installing the sheet upside down will cause yellowing and embrittlement within 1-2 years.
- Cutting: Use a fine-tooth circular saw or jigsaw with a blade designed for plastics. A blade with 10-12 teeth per inch running at medium speed prevents chipping. Always support the sheet fully along the cut line.
- Drilling: Pre-drill holes 2-3 mm larger than the fastener shank diameter to allow for thermal expansion. Never use a hammer and nail — this will crack the sheet.
2. Purlin and Support Spacing
Support spacing is the single most important factor in corrugated PC roof performance. The table below provides general guidelines. Always consult manufacturer specifications for your specific sheet thickness:
| Sheet Thickness | Recommended Purlin Spacing | Suitable Application |
|---|---|---|
| 0.8 mm | 600–800 mm | Light-duty canopies, decorative cladding |
| 1.0–1.2 mm | 800–1000 mm | Residential carports, walkway covers |
| 1.5 mm | 1000–1200 mm | Factory daylighting, agricultural greenhouses |
| 2.0–2.5 mm | 1200–1500 mm | Industrial roofing, warehouse skylights |
| 3.0 mm | 1500–1800 mm | Heavy-duty commercial, large-span structures |
For regions with significant snow loads (above 0.5 kN/m²), reduce purlin spacing by 20–30% or increase sheet thickness to the next grade. In high-wind zones, add intermediate purlins near eaves and ridge lines.
3. Side Lap and End Lap Requirements
Proper overlap prevents water ingress and ensures structural continuity across the roof plane.
Side Lap (Lateral Overlap Between Adjacent Sheets)
- Overlap a minimum of 1.5 corrugations (preferably 2 full waves) on each side joint.
- The upper sheet should always overlap the lower sheet on the weather side — i.e., the overlap should face away from prevailing wind and rain direction.
- For low-slope roofs (pitch below 10°), increase side lap to 2 full waves and apply a bead of neutral-cure silicone sealant between overlapping sheets.
End Lap (Longitudinal Overlap)
- Minimum end lap: 150 mm for roof pitches above 15°.
- For roof pitches between 10° and 15°, increase end lap to 200 mm.
- For pitches below 10°, use a minimum end lap of 250 mm and apply sealant.
- Position the end lap directly over a purlin — never leave an unsupported end joint between purlins.
4. Fastening Methods and Screw Spacing
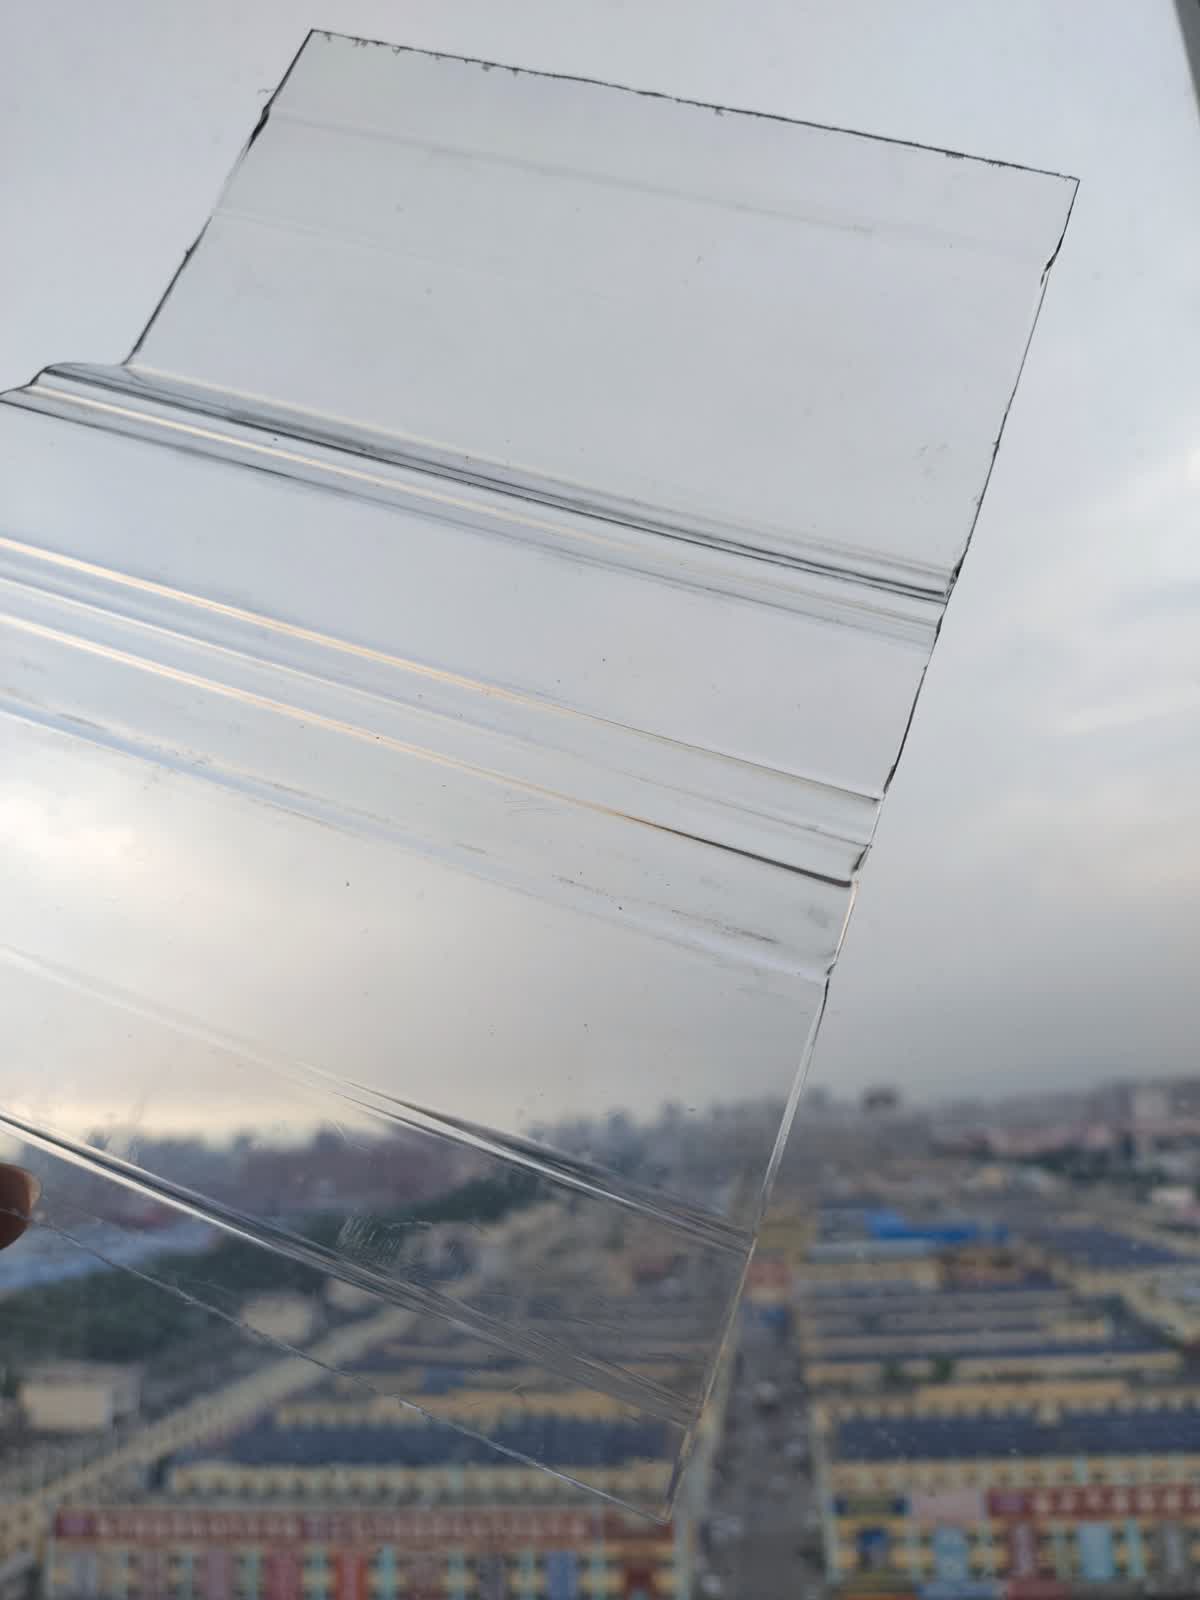
Corrugated polycarbonate sheets must be fastened at the crest (peak) of the wave, not in the valley. Fastening in the valley creates a water trap and promotes leakage. Use the following hardware:
- Self-tapping screws with hex washer head, stainless steel or zinc-plated carbon steel with anti-corrosion coating.
- EPDM or neoprene sealing washers — these compress against the sheet crest and create a watertight seal. Replace washers if they show signs of cracking or hardening.
- Fastener spacing: Place screws every second corrugation along each purlin line (typically 400–600 mm apart). At eaves and ridges, fasten every corrugation for additional wind uplift resistance.
- Drive torque: Tighten until the EPDM washer is visibly compressed but not flattened. Over-tightening deforms the PC sheet and can cause stress cracks around the fastener hole. The washer should form a visible seal ring without bulging the sheet surface.
5. Thermal Expansion Allowance
Polycarbonate expands and contracts significantly with temperature changes — approximately 0.065 mm per meter per °C. For a 6-meter sheet length and a 60°C temperature swing (winter night to summer noon), this translates to roughly 23 mm of total movement. If not accommodated, this expansion can buckle sheets, shear fasteners, or crack at fixing points.
- Pre-drill holes 2–3 mm larger than the screw shank (as mentioned in Section 1).
- Do not rigidly clamp both ends of a sheet. Allow the lower end to float slightly.
- For very long runs (over 12 m), use expansion joints or break the run into sections with overlapping end joints.
6. Ridge, Eaves, and Valley Details
- Ridge: Use a formed ridge cap that extends at least 150 mm down each side. Leave a ventilation gap at the ridge to reduce condensation buildup. Ridge caps should be fastened through the crown of the corrugation, not the flat pan.
- Eaves: Extend sheets 50–70 mm beyond the fascia to create a drip edge. Install bird comb or foam filler strips at eaves to prevent pest entry while maintaining ventilation.
- Valleys: For intersecting roof planes, use a pre-formed metal valley gutter. PC corrugated sheets should overlap onto the valley by at least 150 mm on each side.
7. Technical Specifications — Corrugated Polycarbonate Sheets
| Parameter | Available Range |
|---|---|
| Thickness | 0.8 mm, 1.0 mm, 1.2 mm, 1.5 mm, 2.0 mm, 2.5 mm, 3.0 mm |
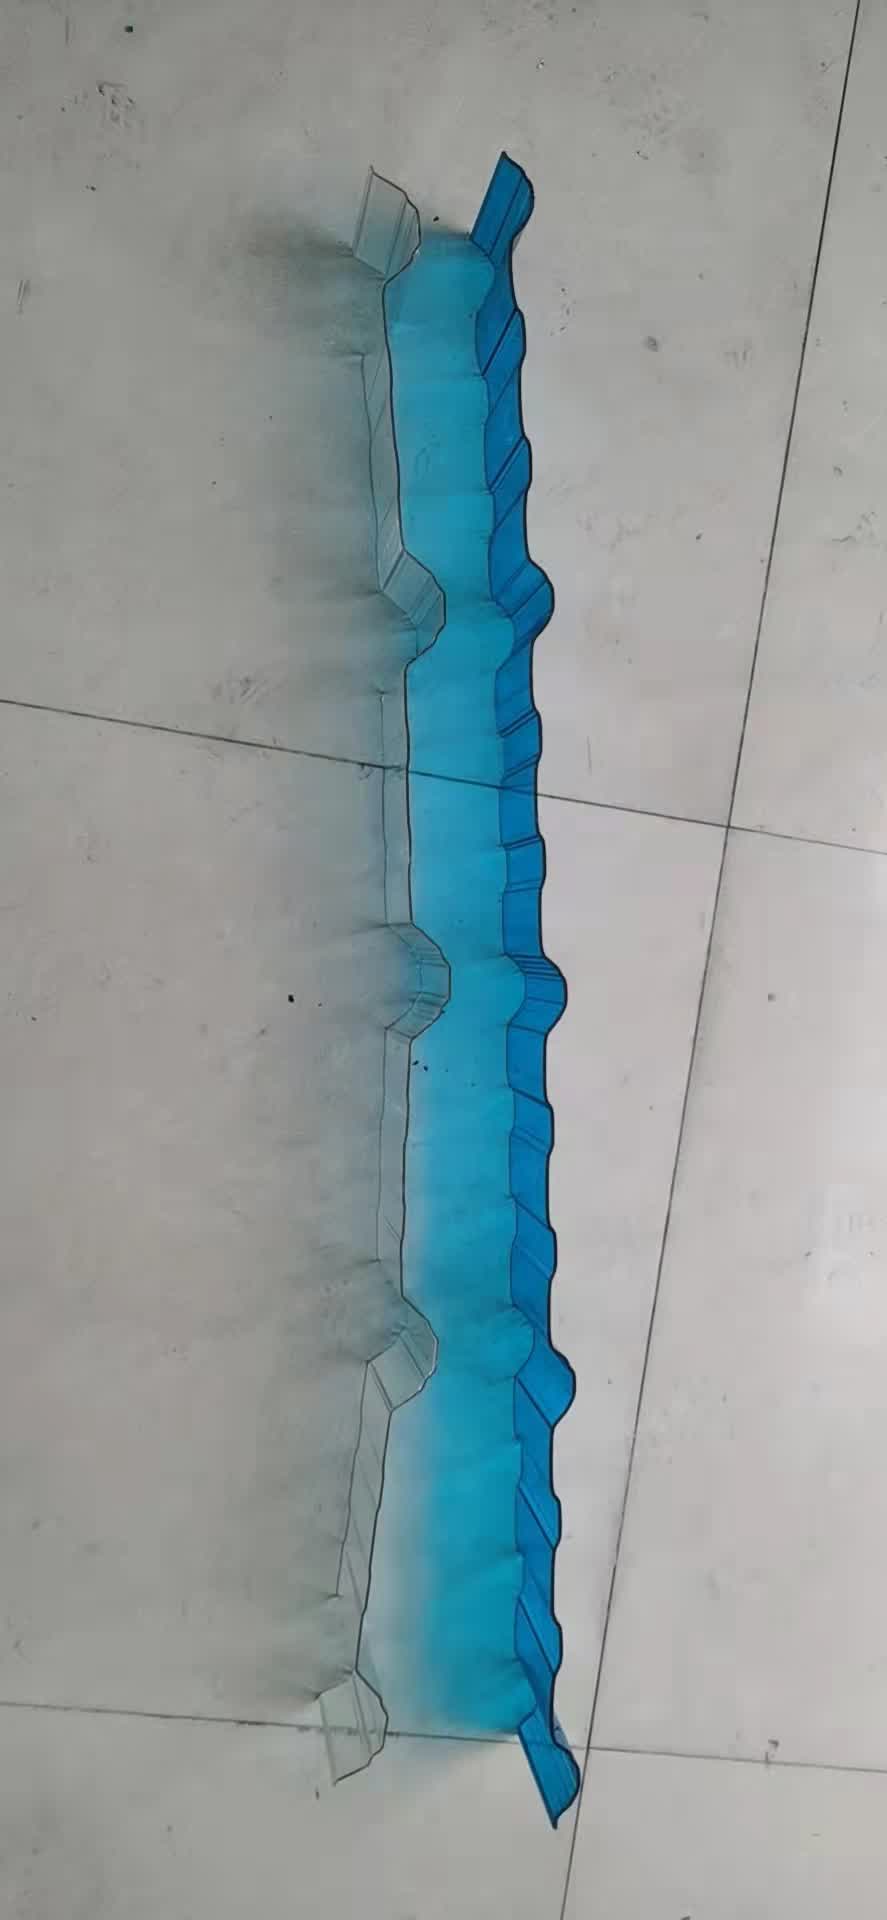
| Wave Profiles | PC760, PC820, PC840, PC900, PC930, PC950, PC970, PC1050 (matching standard metal roofing profiles) |
| Effective Width | 760–1050 mm (profile-dependent) |
| Length | Standard 6 m; custom lengths available per order |
| Colors | Clear, Lake Blue, Grass Green, Bronze, Opal White |
| UV Protection | Co-extruded UV layer, single or double side; 30–50 μm |
| Light Transmission | 25–88% (varies by color and thickness) |
| Service Temperature | −40°C to +120°C |
| Fire Rating | B1 (China), UL94 V-0 to V-2 |
| Thermal Expansion | ~0.065 mm/m·°C |
8. Common Installation Mistakes to Avoid
- Installing UV side down: This is the #1 cause of premature sheet failure. Always check the protective film marking before installing.
- Fastening in the valley: Water pools in valleys, and fastener holes there become guaranteed leak points. Always fasten at the wave crest.
- No pre-drilling or under-sized holes: Sheets that cannot expand will buckle in summer heat. The larger hole diameter is not a defect — it is essential.
- Over-tightening screws: A dimpled or cracked PC sheet around the fastener is a sign of over-torquing. The washer should seal, not crush.
- Skipping end lap sealant on low-slope roofs: On pitches below 10°, wind-driven rain can travel up the end lap. Sealant is cheap insurance against callbacks.
- Walking directly on installed sheets: Never walk on polycarbonate sheets. Use crawling boards or roof ladders that span across purlins.
Why Choose Jietai for Your Corrugated Polycarbonate Project
As a specialized supplier of polycarbonate sheets, we provide all standard wave profiles and thickness options to match your project requirements. Our corrugated sheets feature premium co-extruded UV protection, consistent color quality, and reliable dimensional accuracy. Whether you are replacing a factory roof, building a residential carport, or constructing an agricultural greenhouse, our team can help you select the right specification and quantity.
Contact our team for a quote on corrugated polycarbonate sheets — available in full truckloads or mixed-container orders to match your project timeline.